Showing posts with label goodwill. Show all posts

Wednesday, September 22, 2010

Summer to Fall and DAY 1 OF GIVEAWAY

Fall is truly my favorite season. And although I miss the long summer days, picnics and garage sales.... once the air becomes crisp and leaves start to turn I get all giddy inside.


And while I love decorating for the seasons, for some strange reason I usually wait till last minute to get out my fall decor... Like beginning of November. What's my deal?!? At that point it's almost not even worth it. So this year I resolved to get out my fall pretties as soon as it felt like fall.


Once I opened the 2 bins of fall decor, I realized that there was one problem - although I was ready for the warm cozy feeling of fall I was not ready to have turkeys and pilgrims everywhere. It wasn't that fall yet. That meant that I need to mix the summer items with fall to create what I now call "The Summer Easing Into Fall But Not Quite Turkey Day Look." Catchy, huh? I'm thinking of marketing the name to Pottery Barn :)


If you have been wanting a touch of fall in your home, but like me you're not ready for all out Turkey Day here are some simple tips for cozy-ing up your home:

Remove all Spring/Summer accessories. Anything that is bright... or that you are just plain ready to change out till next year.

Keep out the neutrals - white, creams, browns, blacks.

Keep out meaningful pieces - your grandfather's Bible, a family photo, a saying that is meaningful, your grandmothers tea set, etc. As we approach the winter months there will be more and more family coming to our homes for the holidays. How wonderful to have a piece of meaningful history surrounding you as you pass on family stories to the next generation.

Shop the house for other items that aren't necessarily "fall" but that will tie in seamlessly: typeset letters, dishes, baskets, candles, etc.

Take a cue from nature and gather some twigs, leaves, pine cones, acorns, etc. Things that are already in your back yard and best of all they are free!

Gather up any accessories that make you feel all warm and cozy. To some that means dark colors like garnet, golden wheat, chocolate, pumpkin spice and cinnamon. To others is may be gray, charcoal, whites, and blacks. What ever floats your boat. If it makes you feel like fall has arrives, use it.


Personally I fall in the garnet, pumpkin spice color group. So out come the leaves, mums, and sugared fruit.

Cozy-ing up your house does not mean a whole revamp and dozens of tubs for one season stored away in the garage. It is just a few simple touches. Ok ready to see how easy this is?

This table is the first thing you see when you walk in the house.


Before - simple, uncluttered for summer.


Remove the summery fluff and items you you are ready to rotate.


Get ready to add and layer. After shopping the house all I added in was the white N.


From the seasonal group, all I used was this basket of faux sugared fruit and a mum/leaf garland. That's it! And inexpensive: the fruit was collected over the years from the Boutique {Goodwill} and much of it was brand new. The garland was a gift from my Mom... but I know she got it at a 75% off sale years ago.


First I added in the mum garland with the existing ivy leaf garland. The green added some poof and filled in the gaps of the Autumn strand.


Then it was time to start layering the fruit. Start with larger ones in the back and size down towards the front. Find color combos that look pleasing to the eye.


For the square dish I kept the lantern, jute ball and ribbon ball {which, by the way, were made with a wiffle ball like this one here}. They added texture and filled in the bowl. The smaller sugared fruit just filled in the gaps.


Once again Before:
After:

Ta-da! Instant fall!


And I love that this is the first thing that I see when I walk in - it just makes me smile!


So today I am wanting to know, have you started to decorate for fall? Is this your first year tackling fall decor or is it a tradition? Are you trying out any new fall decor ideas this year?  

Tell me in the comments below what your plans are and your name will be entered in the first day of the GIVEAWAY! That's right all you have to do is comment on your fall decor and you have one entry.

Want another entry? Here you go!

Blog about this giveaway = 1 more entry
Follow "too Blessed to Stress" on Facebook  = 1 more entry
Follow "too Blessed to Stress" on Twitter = 1 more entry
{Click on the Facebook and Twitter buttons on the right hand side}

That's 4 ways to enter. You can do as many or as few of these as you want, but please leave a separate comment for each one so that I know how many time to enter your name.

Just like last time this will be a 7 day giveaway. Every day there will be a new way to enter and one more item will be added to the giveaway. In the end one lucky winner will get all the loot! So check back often for new ways to get your name in.

Today's prize:

Your very own Flower Poof, made by yours truly! See more about them here.

Choose one of these three colors pictured above.

Whew! That was a lot of info all in one post... thanks for joining in on the fun of the GIVEAWAY. I'm excited to read your fall ideas.

All photos taken by yours truly.

Thursday, September 2, 2010

Laundry Room Projects

Last day before the reveal of the laundry room. Yes, I am squealing with delight. Tonight the whole this gets put together and I am so excited to show you. Before the reveal, I wanted to show you a couple more simple projects made for that space. As all the other projects in the laundry room they were simple, easy on the pocketbook, and took no time at all to make.


This cute little lamp was a Fancy Store purchase - base, shade and all. Can you believe it? And there was not a single scratch on it. Yes, I happy danced right there in the store :)

When I spotted it, I just knew that it would be perfect in the laundry room. It serves as little ambiance in that passing spot between the garage and main house... not to mention that it reminds me to put the clothes in the dryer when I turn it off at night.


As much as I like feathered/fur trim, this one was looking a bit sad. There were fluffies missing and it was just too dark for the space.


That's when I remembered this delicious pink fabric from my stash. And wouldn't you know, there was just enough to recover the lamp shade!


After removing the fluffies, I traced the shade by rolling it across the fabric while marking it lightly with a pencil. Also, I made sure to leave at least a 1/2 inch allowance on the top and about 1 inch on the bottom. That way the "seams" would be nice and clean.


Once cut, I hot glued the fabric along the top leaving a 1/2 inch of excess fabric.

Why do I always have paint on my hands?
Note to self: wash hands before taking pictures :)

That then I carefully wrapped the excess over and glued it down on the inside, making sure to glue only on the white, thicker portion - not the black shade itself.


Then I met the seams on the side {up and down} and folded over the side that would be visible.


That way it made a clean seam. A dab of glue sealed it to the opposing fabric. Again, I avoided gluing directly to the shade.


With the excess fabric on the bottom, I folded it over once till it met the base of the shade...


... and then folded it over again to create a clean seam and glued it down.


So simple, but what a change!
Now I need to decide if I should keep the base black or go with a chocolate brown. Thoughts?

On to craft number 2.


I really wanted to use this tissue paper to make a small decor ball for the laundry room shelf. But I knew that it needed to be smaller since the tissue paper I had in this color was limited. After searching the house I came up with this:


Now you have proof that I will make a decor ball out of anything! haha!!! These are just perfect for mini decor balls.


After cutting the paper into 3/4 inch strips, I placed a line of hot glue down one side...


... and then quickly rolled it up to make a little flower puff.


Then a dab of hot glue attached it to the ball.


Several more, and voila! Instant pretty.


Who would have ever thought that this was originally a fast food prize? Love it!

What items have you repurposed for the sake of home decor?

All photos taken by yours truly and Mr. too Blessed to Stress.

Wednesday, September 1, 2010

Laundry Tips Board

Can I even tell you how excited I am to show you the Laundry room reveal in two days? It is coming together so nicely. Who would have ever thought that such a tiny space could be so bright and cheery? Major Happy dancing going on right now :)

This is another project that has found it's way into the laundry room remodel and I have to tell you I am THRILLED with the result. It was so simple but totally makes my day every time I walk in there... which is often. This family of 2 + pup goes through a lot of laundry! Are we just more piggy than others? huh, must be :)


I found this chalkboard in the bins at the Fancy Store {aka Goodwill Outlet} and I may or may not have let out a little squeal when I found it and madly ran across the store to snatch it up. I love the big chalkboard and chunky frame! What I was not loving was the scratched paint and these weird staple things that were sticking out of the bottom. Maybe it used to have a little shelf or something? I merrily pranced walked calmly through the store with my purchase, not fully knowing where it would end up.

Anyhow, once home I realized that it was just perfect for the laundry room - ironic since it was originally for a laundry room and painted lavender, the old color of my laundry room.


First things first, I set up an uber professional painting station... in the living room... on a card table covered in newspaper... so that I could watch HGTV. Classy, I know :)


I found these oops paint samples in the garage paint cupboard and decide on a creamy white {left side}. Sorry but I have no idea what color the sample was, there is no tag on it.


The seams needed some help, which gave me a perfect excuse to try out this cool stuff:


It is spackling that goes on pink and dries white. That way you know when it is ready to sand. How awesome is that? Totally what this haphazard crafter needs!


I the meantime, I set out to remove the big ole staples which turned out to be big ole nails!


Hello, no wonder they hurt so much when I accidentally smooshed my hand into them.

Once all nasty nails were removed, puttied and dried I used a sanding block and a toothpick to get all the excess off and gave it 3 coats of yummy, creamy white.


While it dried, I headed over to one of my favorite craft stores, Ben Franklin, and had the words "Laundry Tip" printed out in a favorite font, Coventry Gardens. It's kinda hard to tell, but the letters are a deep chocolate brown.

Once everything was dry, it was time to apply the vinyl, have studdly hubby hang it up and stand back to admire.


I love it! The "tip" was written in Chalk Ink Markers which I absolutely am in love with. Want to get me something for my birthday this month? Colored Chalk Ink Markers are on my wish list. {Hubby, are you reading this?}

How have you been using chalk boards lately?

Joining a Laundry Room themed party over here:


And a "Wrap Up" Over here :)
 

All photos taken by yours truly.

Monday, August 30, 2010

Iron Away


So there was a major bummer with the awesome chandelier from this previous post… It was painted and looking all snazzy when dark clouds started to roll in. It really looked like a sudden down pour was on its way. So I moved it under the canopy and that’s when it happened…. The swing bumped up against it taking off a whole chunk of paint. I probably would have left it but it was a really noticeable spot. So I touched it up. Waited….. and then the bag it was drying on top of somehow got pushed up against it and tore off a BIG chunk of paint. Grrrrrr. I was not a happy camper. So there is currently no light fixture in that room and I now need to sand and repaint several spots. Bummer.


But on a happier DIY note, I have a fun project to show you. I recently decided that my ironing board cover needed an update from faded/stained stripes. There were no ready made covers that really matched the new colors in the laundry room, so I decided to make one myself.


Now before I jump into this mini tutorial please note:


~I am not a champion seam seamstress. Basic strait lines on a machine are a challenge for me. If you can sew for real – you may just want to look away. :)


Here is the yummy fabric I chose. Dark chocolate background, light and hot pinks, and creams. Isn’t it just lovely? I love it!


My ironing board is just over 2 ½ long, a little table top kind. Under the cover it had a thin but sturdy piece of foam and then just a piece of plywood. Fancy schmancy… oh, and it was from the Boutique. $3.99, yippee!


Here’s evidence of it’s tiny size - yep, that’s my kitchen counter. All full of junk… hmmm…..Guess I know what my next project is!


After ironing my fabric, I took the old cover and stretched it out flat on top of the fabric. Both were face down.

Then I cut out the basic shape of the cover leaving about 3 inches on every side.
The spray paint on my hands did not come off for several days!


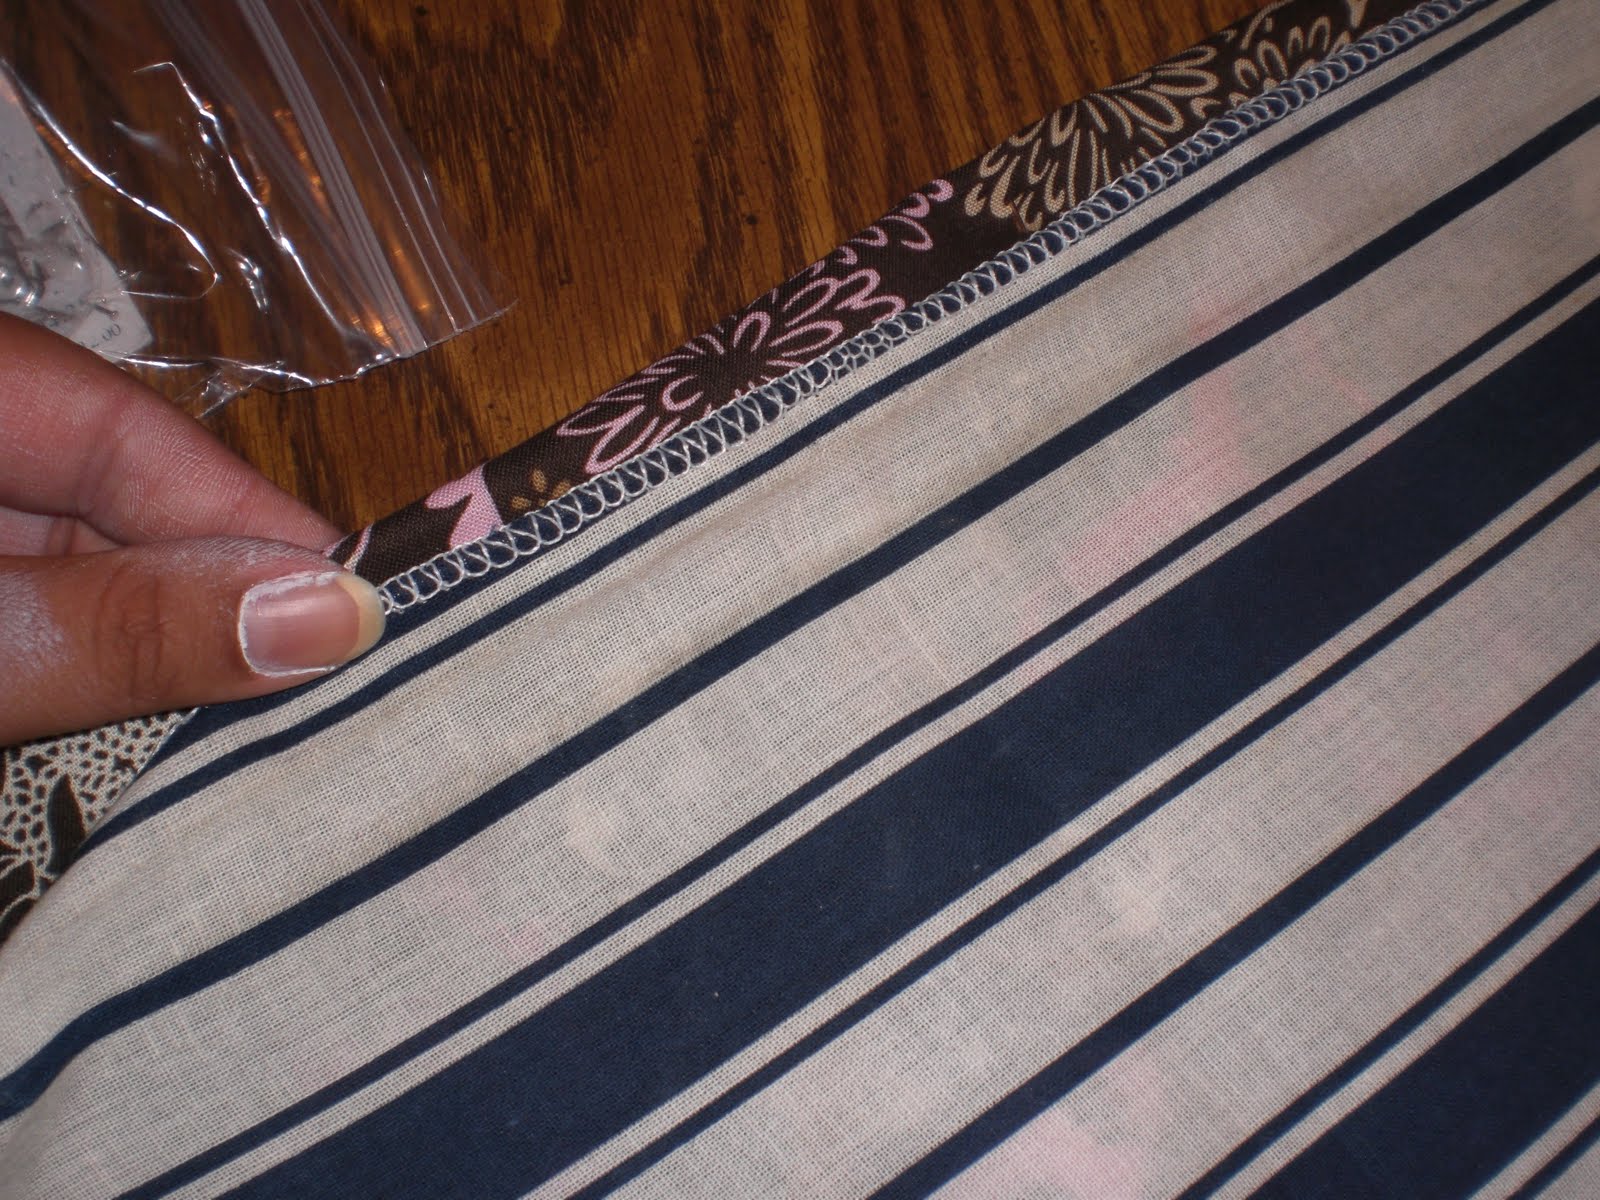
Now here comes the not so technical part that I just made up as I want along. After folding the fabric within ¼ inch of the original cover I pinned it all the way around.

{Other side}

The ¼ inch became the pocket to feed the elastic through.


At the corners, I made sure to fold over one side flat and then the other on top of it.

That way when the pocket was sewn it would still be open to push the elastic through.


At this point I was ready to sew all the way around, making sure to leave a 1 inch gap at the bottom {short end}. That became the entrance and exit point for the elastic.


Once sewn, all I needed to do was attach a tiny safety pin to one end of the elastic and feed it through the little pocket all the way around. I did this, of course, while watching a previous episode of Design Star. hee hee!


All that was left was to trim the excess fabric and put it on. Tada!


By the way, there will be a laundry room reveal by the end of the week… I am just bursting at the seams, ready to show you! Stay tuned!


All photos taken by yours truly.