

Ok so this is so simple I feel almost silly posting a "how to" for it. Nevertheless I wish to prove a point with this mini tutorial:
You don't have to spend mucho-bucks to have fabulous customized wall art... not only that but it is so simple to make anyone could do this. I made mine while eating lunch!

Remember the recovered ironing board from this post in all it's yummy fabric glory? Well I had a bit of fabric left over that I know would be just perfect for something, I just didn't know what yet.

Save the scraps! You never know when they'll come in handy.
So today as I sat at the dining room table eating my quesadilla it dawned on me: why not take a few portions of this fantastic fabric and frame them. Instant color plus it helps carry the pattern from the ironing board up to the walls without being too overwhelming.

See, I really was eating lunch!
My first thought was, "I need to buy a few frames, Dollar Tree here I come!" Then I remembered a gorgeous frame my sister-in-law had given me for Christmas several years ago. It was a deep chocolate {perfect!} with a cuter than life bow. I have always loved the frame, but had grown tired of the photos I had placed in them. This was the perfect chance to spruce the inside up and hang once again.
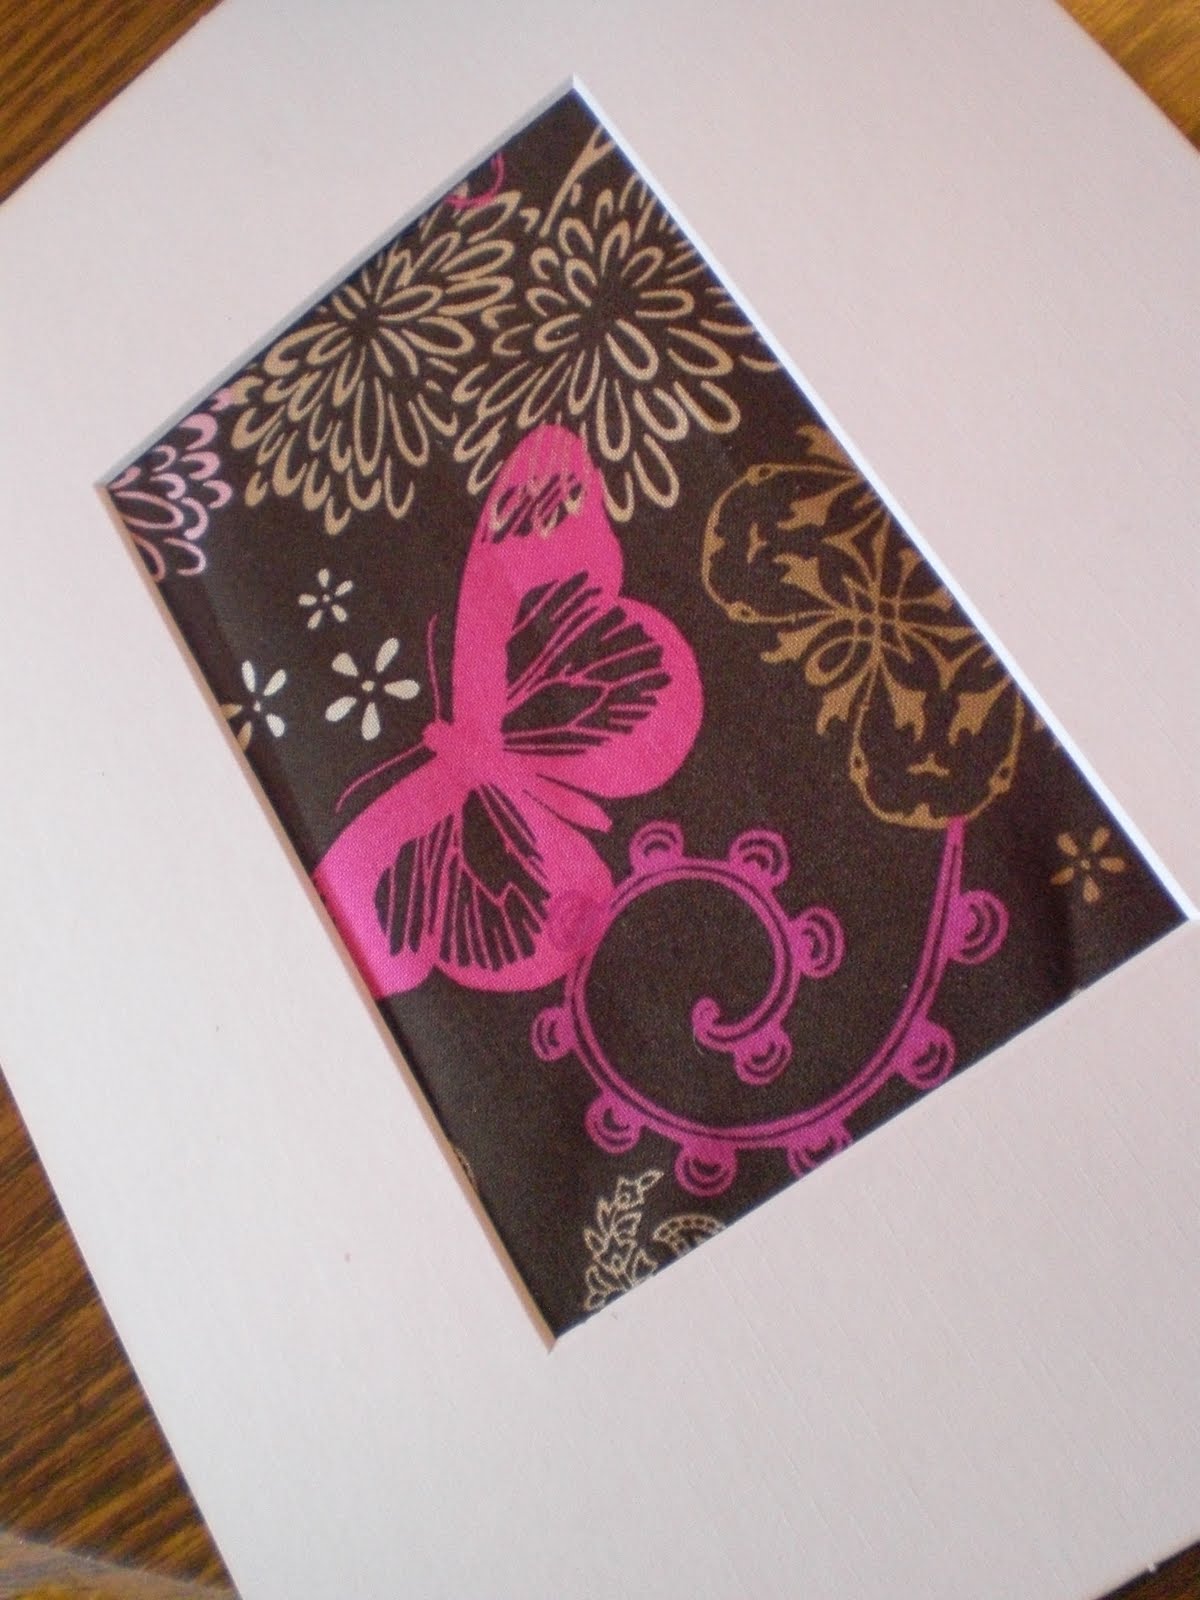
I laid the fabric out on the table and played around with the placement of the frame in between munches of quesadilla. Here are some of my faves:


Here's the one I decided on:

Now came the tricky part - cutting this piece out while making minimal damage to the remaining fabric. I want to do at least one more frame and am not sure which portion of the pattern I will choose.

So I got some painters tape and put a bit on each of the four sides on the inside of the mat. That way when I cut it out, I would remember where I had placed my mat and get it centered.

Once taped off, I cut 1/2 inch away from the tape, leaving plenty of room to attach to the back of the mat and not damaging a nearby flower that might make it into the next frame.

Then I took one more piece of painters tape, placed it sticky side up, and laid the top portion of the fabric on it.

Using the tape to center fabric in mat.

That way when I used the other pieces of tape as my centering guide all I had to do was press down from the front and the top portion was adhered.

All that was left to do was remove the tape from the front and use it to secure the other sides on the back.
Stepped back, admired my work, washed down the quesadilla with fruit punch {nutritious, I know} and put the frame back together.

Easy-Peasy!
Place in frame, clean glass {wow there were a lot of finger prints!} and enjoy my instant art!
Have you used fabric scraps to fill your frames?
EDITED TO ADD: I have had a few inquires as to where the fabric came from . It was from Walmart and I spent all of $1.49 to recover an ironing board and make some art.. and there is still more left! Can I get a happy dance? :)
EDITED TO ADD: I have had a few inquires as to where the fabric came from . It was from Walmart and I spent all of $1.49 to recover an ironing board and make some art.. and there is still more left! Can I get a happy dance? :)
All photos taken by yours truly.
Fabuloso! (I really don't speak spanish, so i don't even know if I spelled it right! But I love the word! HA!)
ReplyDeleteI am going to have to do a Walmart tour. Most of the Walmarts here stopped selling fabric on the bolts. Now it's precut and very limited. :o( Uh..how about a trade, a little fabric for a carafe/milk jar or two?